Unleash your Ride’s Glister
Explore a wide array of meticulously sourced products that cater to every facet of car care
$7.99 – $11.99
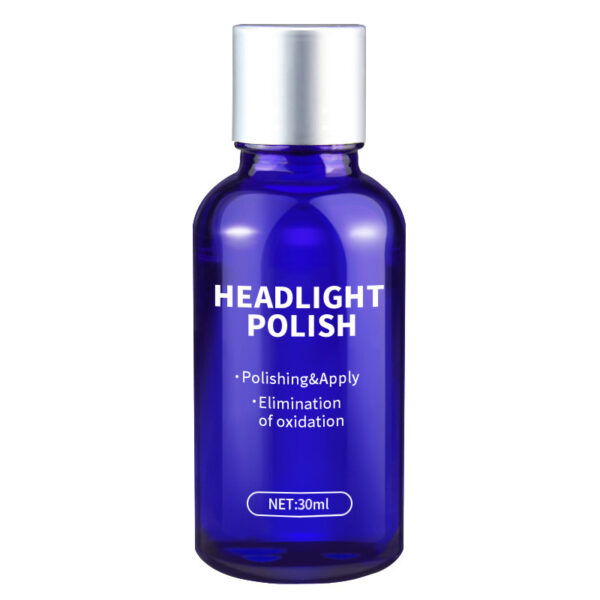
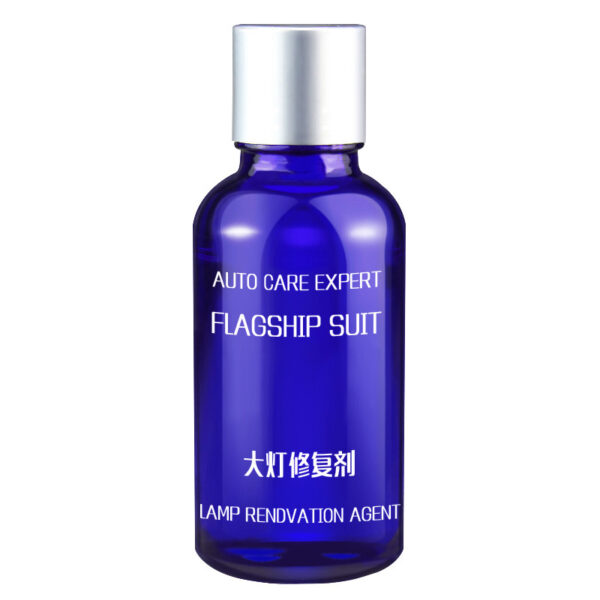
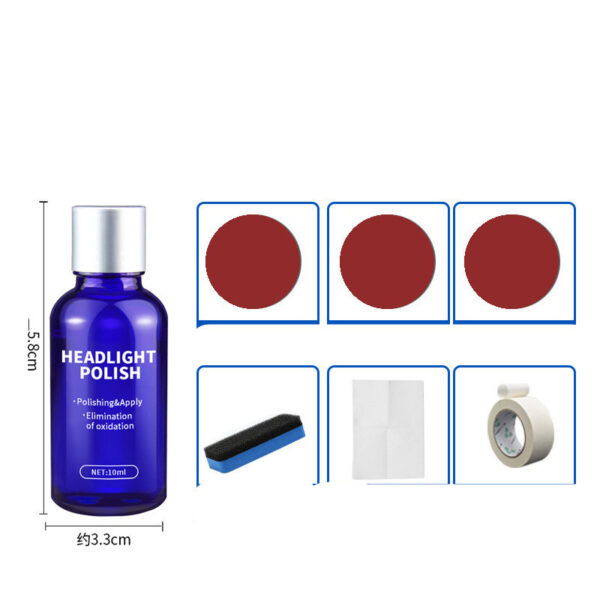
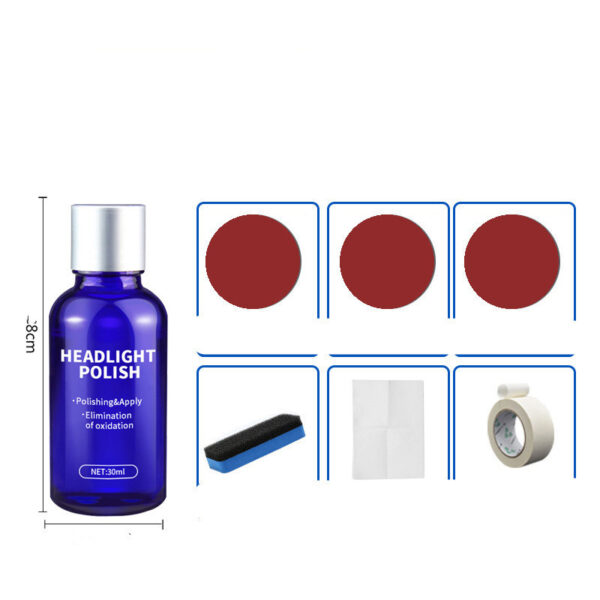
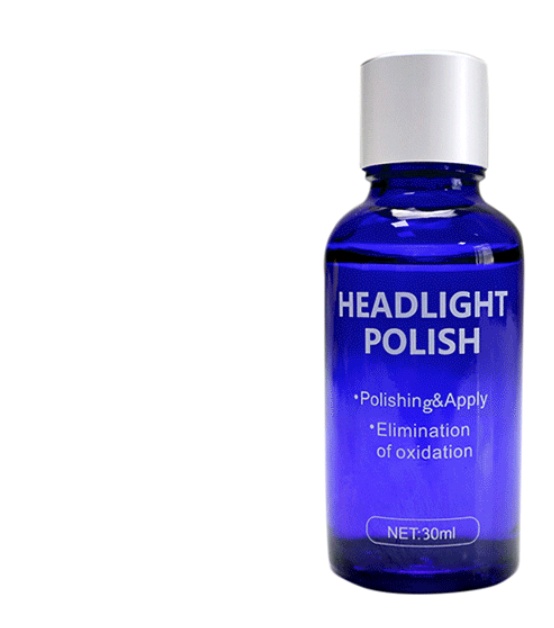
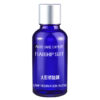
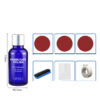
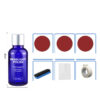
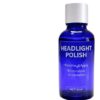
High Density Flagship Polish Cars Liquid Car Restoration Liquid Liquid Repair
Description:
Hydrophobic glass coating, acting as a sacrificial barrier coating on the surface of your car’s coat, protecting your car from aging, discoloration, weather and sun erosion, acid rain, industrial powder, etc. . avoid the scratches of the car, make the car shine as new.
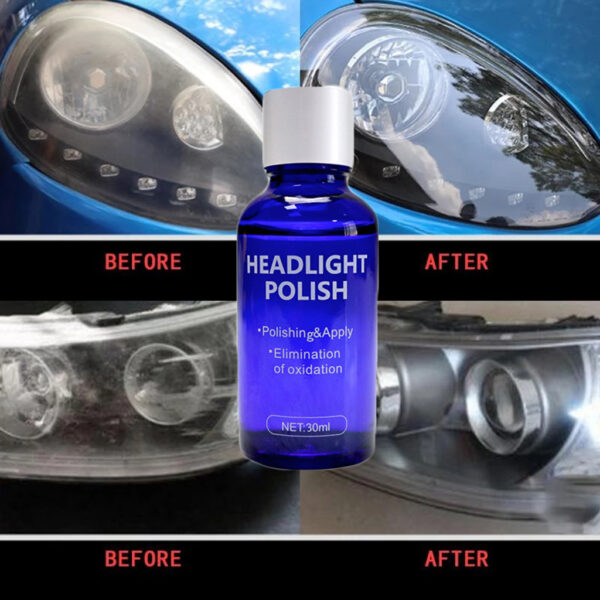
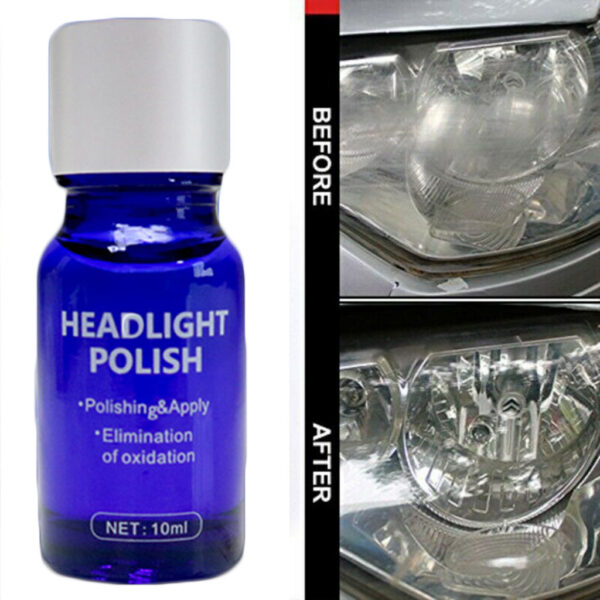
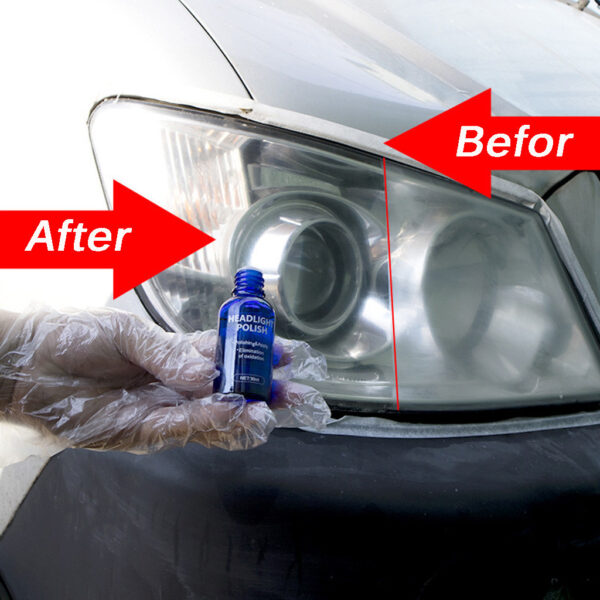
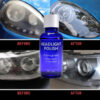
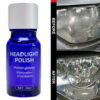
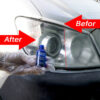
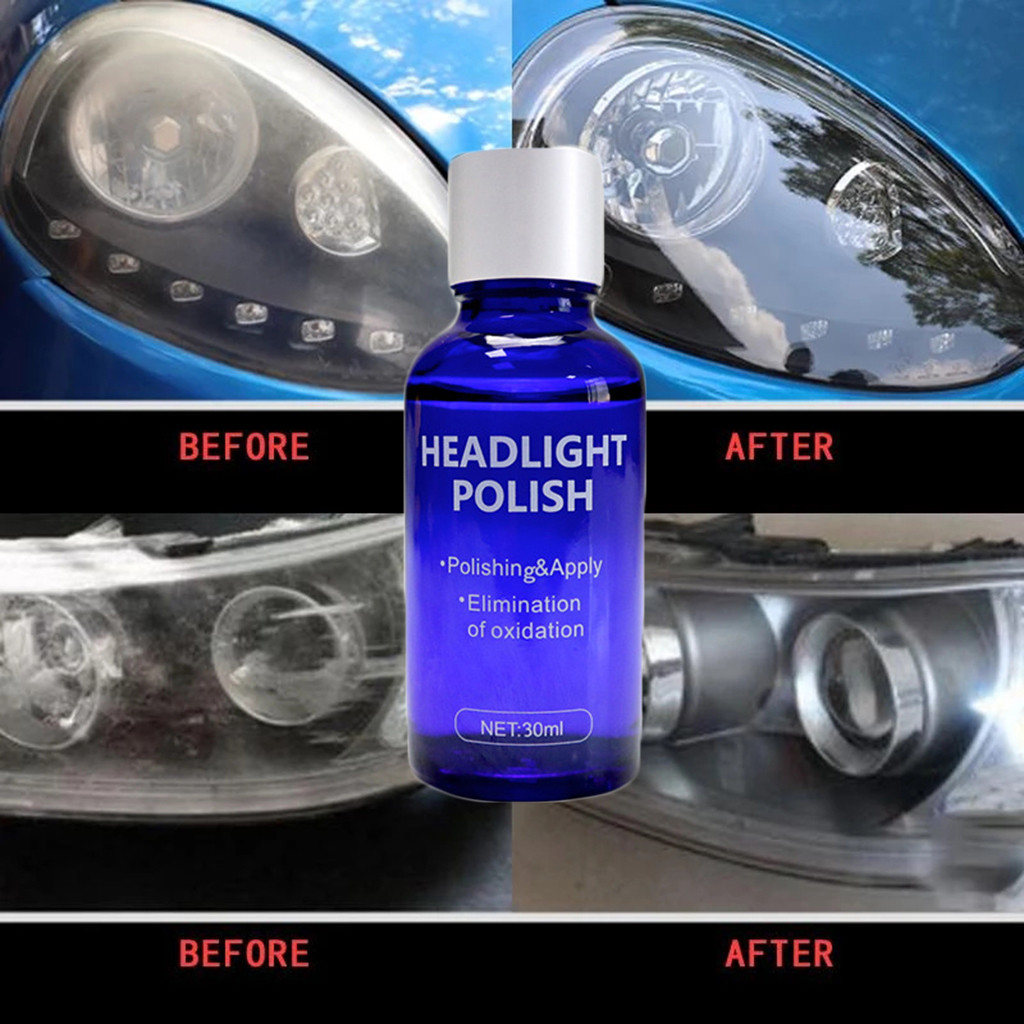
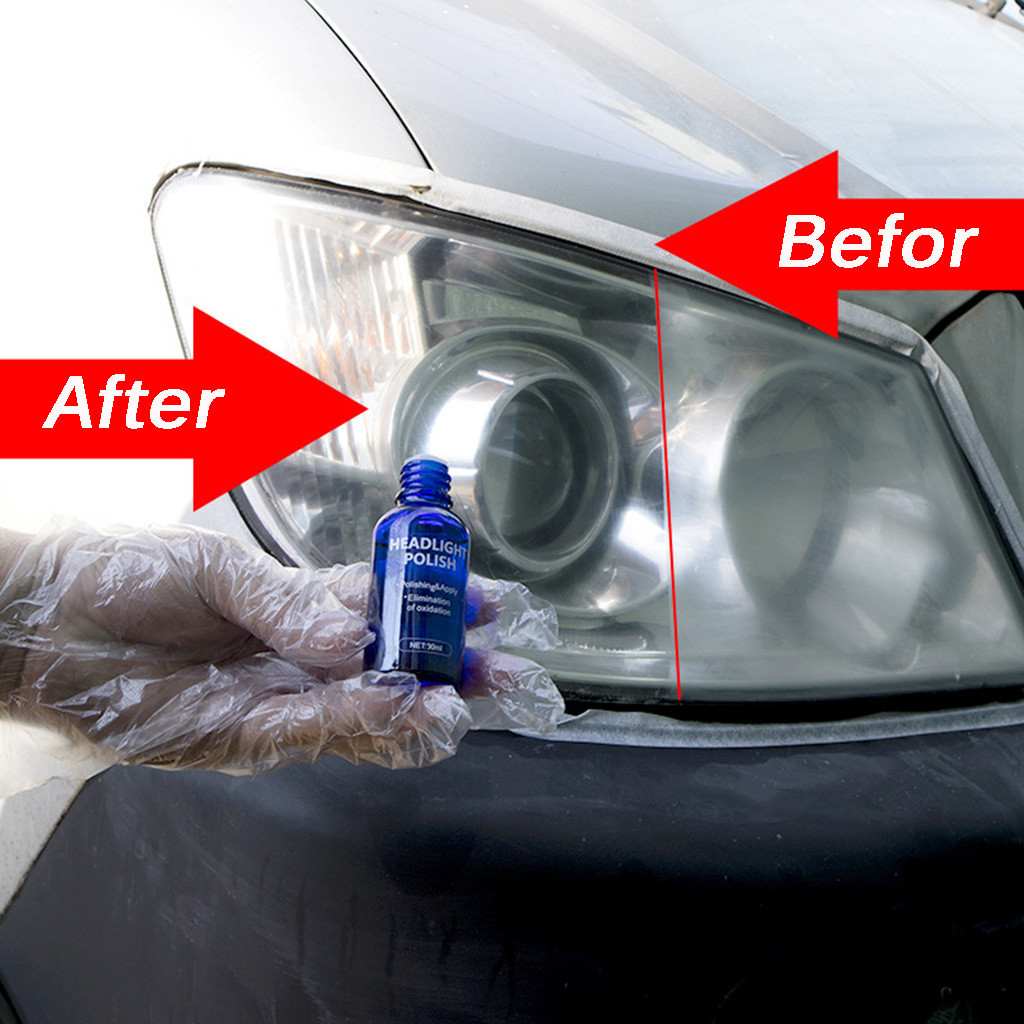
Completely removes haze and corrosion from the lighthouse lenses.
Light output and restored beam pattern, protect your car from scratches.
Easy steps that provide long-lasting UV protection.
Applying a hydrophobic glass coating to your car’s headlights can enhance their clarity, improve visibility in wet conditions, and provide a protective barrier against environmental contaminants. Here’s how to apply a hydrophobic glass coating to your car’s headlights:
Materials Needed:
Step 1: Prepare Your Headlights
1.1. Wash Your Vehicle: Start by thoroughly washing your vehicle, including the headlights, using car wash soap and water. Rinse off any dirt, grime, or contaminants from the headlights.
1.2. Decontaminate the Surface (Optional): If your headlights feel rough or have embedded contaminants, consider using an automotive clay bar to clay the surface. This step creates a smooth surface for the glass coating to adhere to.
Step 2: Prepare the Surface
2.1. Wipe Down with IPA: Using isopropyl alcohol (IPA) and a clean microfiber cloth, wipe down the entire headlight surface you plan to coat. This step removes any remaining residues, oils, or contaminants that could interfere with the glass coating’s bonding.
2.2. Use Grit Guards (Optional): When rinsing and washing your vehicle, using grit guards in your wash bucket can help prevent new contaminants from scratching your paint.
Step 3: Application of Hydrophobic Glass Coating
3.1. Choose a Controlled Environment: Apply the hydrophobic glass coating in a clean, dry, and shaded area. Avoid direct sunlight or windy conditions.
3.2. Put on Gloves: Wear the gloves included in the kit to protect your hands.
3.3. Apply the Coating: Dispense a small amount of the hydrophobic glass coating solution onto the provided applicator pad or an applicator of your choice.
3.4. Spread Evenly: Use the applicator pad to evenly spread the coating onto one headlight at a time, working in small sections.
3.5. Wait for Hazing: Allow the coating to haze or flash for the recommended time specified in the product’s instructions (usually a few minutes).
Step 5: Buff and Wipe
5.1. Buff with Microfiber Towel: Using a clean and dry microfiber towel, gently buff the coated headlight to a high-gloss shine. Be sure to remove all haze and residue.
5.2. Repeat for the Other Headlight: Repeat the application and buffing process for the other headlight.
Step 6: Curing Period
6.1. Follow Curing Time: Allow the hydrophobic glass coating to cure for the recommended time specified in the product’s instructions. This typically ranges from 12 to 24 hours, but it may vary depending on the brand.
6.2. Avoid Exposure to Water: During the curing period, avoid exposing your vehicle to rain, water, or any other moisture.
After the curing period, your headlights should have a hydrophobic glass coating applied, providing improved visibility in wet conditions and a protective barrier against environmental contaminants.
Specifications:
Durability: 3 years.
Consumption: 30 ML / 10 ML
Thickness of coating: 30um.
Type: car ceramic liquid coat.
Anticorrosion: PH tolerance: PH2-12.
Notes:
Warning: Keep out of reach of children and avoid Eye contact!
Due to the different screens and light effects, the actual color of the item may be slightly different from the color shown on the pictures.
| Weight | 0.10 kg |
|---|---|
| Dimensions | 100 × 200 × 50 cm |
| format | 10ml, 10mlSET, 30ml, 30ml SET |
Only logged in customers who have purchased this product may leave a review.
Reviews
There are no reviews yet.